Tuesday 20 December 2011

J's Racing MME 2008 Shirt

Not a car update, but a fashion one (WTF?!! I hear you say). I justify this post as I will not have any car updates until 2012 :p

The very last medium sized J's Racing MME 2008 shirt for sale is now longer not for sale as it is in my possession :)
(J's auctioned them off for the Earthquake victims)

For those of you who do not know, MME is the Malaysia Merdeka Endurance race, formerly known as Merdeka Millennium Endurance Race. It's a 12hr endurance race held annually at the Sepang International Circuit in late August as part of the Merdeka festivities in Malaysia.

Back in 2008, J's Racing competed and won their class (Class A). This shirt is to commemorate their success.


As J's say... Racing goes on....


BUT. I couldn't not post something about my car.

Here's my car failing to get traction on a dyno - wheel spin anyone?


The sooner I get my new wheels on (with new tyres!) the better :)

Tuesday 13 December 2011

GP2 Race Shell

 Saw this in TGM's body shop over the weekend.

A GP2 Shell being prepped for next season.

Because of the material, paint stripper cannot be used so last season's paint has to be sanded down!
To save weight, no paint is applied to areas of the shell where components meet
Gold plating separates the driver from the fuel tank
Detatchable Cockpit Surround

Saturday 10 December 2011

Brembo Race Calipers

So a few weeks back you may recall that I was astounded with the brake set up on Joe's race car at Snetterton. So much so that I called Tom up the following Monday for a "chat".

I have shall we say gone a little overboard with my brake upgrade. After our chat, Tom had spoken with Brembo to build a pair of XA2.E7 Series 4 race calipers in replacement for my new and unfitted F50 calipers.

The 2 piece race disc setup will remain the same. Incidentally, the discs are the same as the below picture which I don't believe I have posted up before.

332 x 32mm fully floating 2 piece race disc set up
I was down at TGM today so took a look at the new kit. The F50's were still there so I was able to do a quick visual comparison.

F50 Caliper picture for reference
XA2.E7 Race Caliper


Notice the quick release retainer. Pad changes should only take seconds :)


Notice the F50 has dust seals around the piston holes. The XA2.E7 does not, plus the holes are much larger! Note: this photo is misleading due to the angle of the shot. The F50 is a much smaller caliper which you'll see in the next photo
Notice the size difference between the two calipers. And I thought the F50s were wide!
The XA2.E7's as with all race calipers run without dust seals around the pistons as in brutal race applications where there is prolonged serious heavy braking, they would melt. This will mean that I'll have to keep on top of them and clean them out on a regular basis. Given my car is a weekend car at most (and only driven hard on track) this is no big issue.

Anyway, some tech specs of the XA2.E7 below (check out the piston size and pad thickness - absolutely immense!)
  • 2 piece aluminium caliper body
  • 2.95kg
  • Piston size: 38mm, 42mm
  • Piston area: 50.39cm2
  • Pad area: 63cm2
  • Pad thickness: 25 - 26.5mm

I am so looking forward to testing these out on track next season. I absolutely cannot wait!

Saturday 3 December 2011

Sard Aero Blades

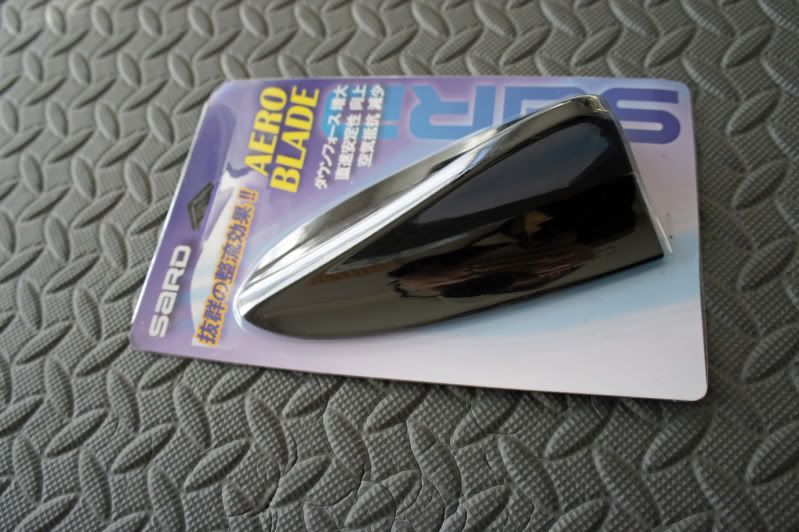
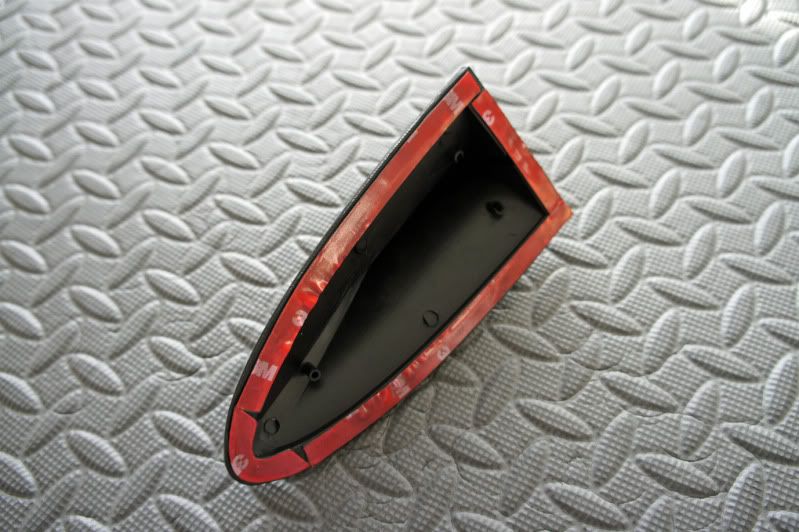
I have just taken delivery of a set of Sard aero blades a.k.a Vortex generators.

 
 To explain in simple terms the benefit of vortex generators I have summarised a very good article from AutoSpeed

Airflow over a car’s surfaces can be divided into two simple types, laminar (attached) flow, and turbulent (separated) flow.

A car that is being dragged along by movement has a thin blanket of air that sits on the surface of the body. This blanket of air is called the boundary layer and varies in depth, normally getting thicker towards the rear of the car.
The thicker the boundary layer, the more easily airflow will separate from the body, leading to turbulent flow.
Flow separation is bad because it leads to a larger wake (the area of disturbed, turbulent air being dragged along behind the car) and less pressure on the rear surfaces (like sloping rear windows and spoilers), reducing pressure recovery, ie reducing the pressure of the air that can help push the car forwards

As mentioned, the further you get towards the back of the car, the harder it is to keep the flow sticking to the bodywork. Because of the increased thickness of the boundary layer, air more easily separates, resulting in a larger wake, less pressure recovery and poorer performance of rear mounted wings. In other words, the airflow close to the car has lost its flow energy.

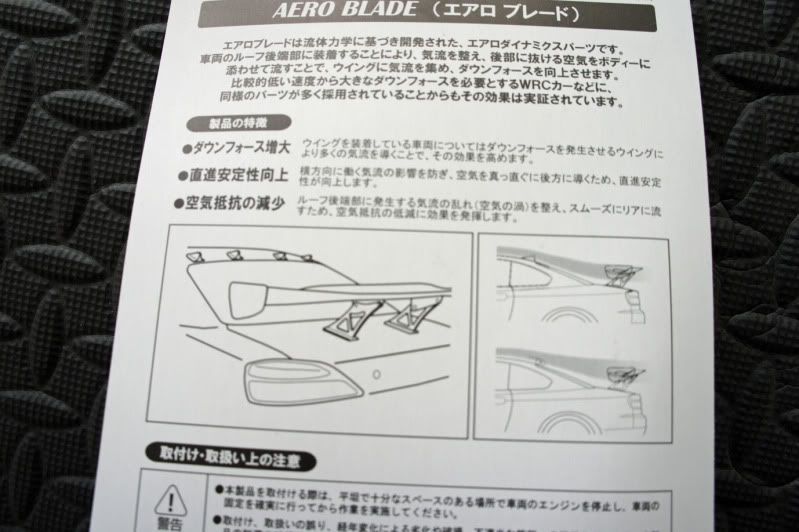
If vortex generators are placed just ahead of the separation point, they can be used to put airspeed back into the boundary layer. The boundary layer then becomes energised and as a result, the airflow is more likely to stick to the body. The wake is reduced in size or increased in pressure, where the increased pressure acts on angled rear surfaces such as the rear wing thus giving more rear downforce.

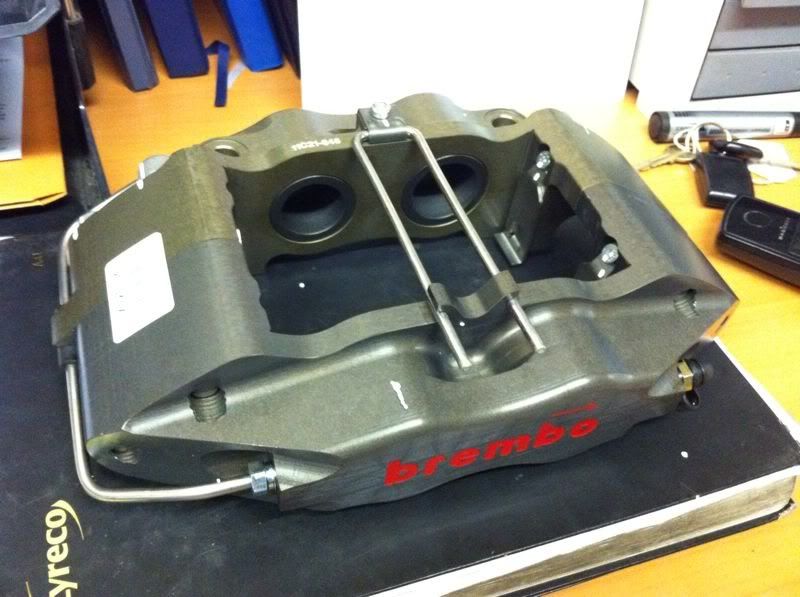
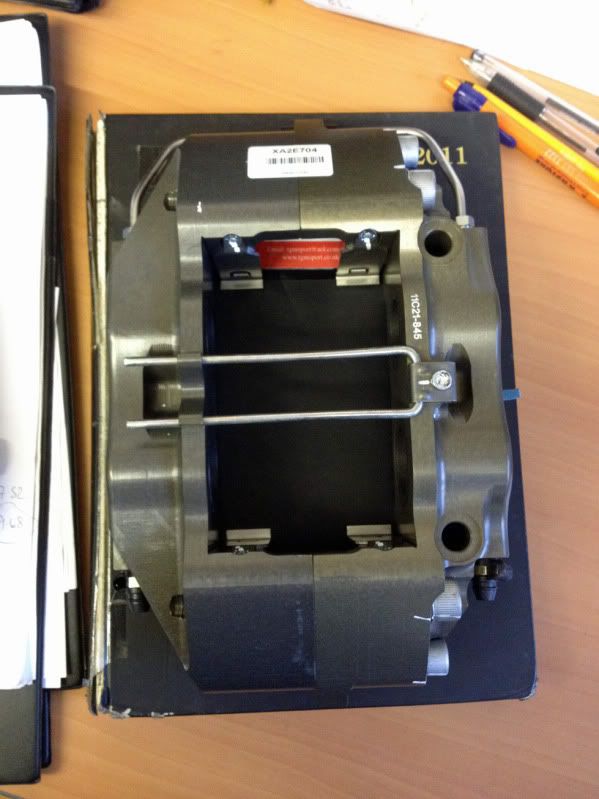
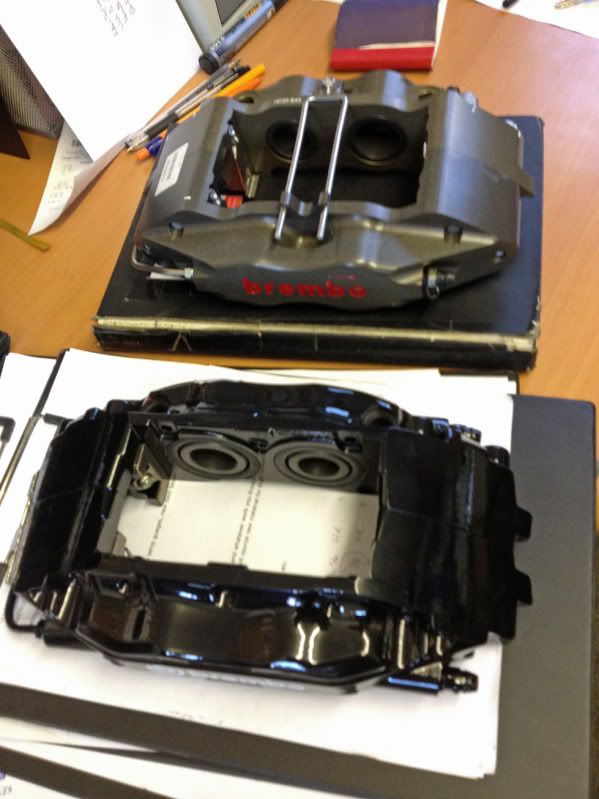
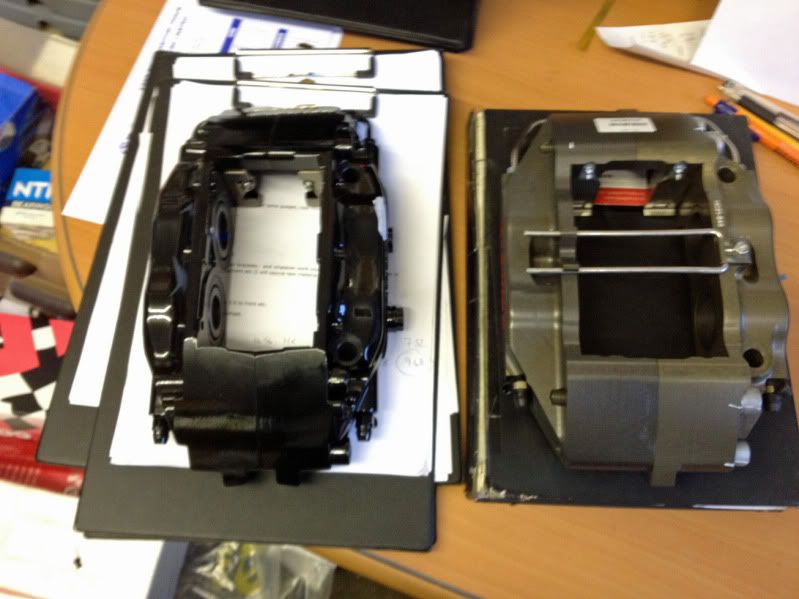
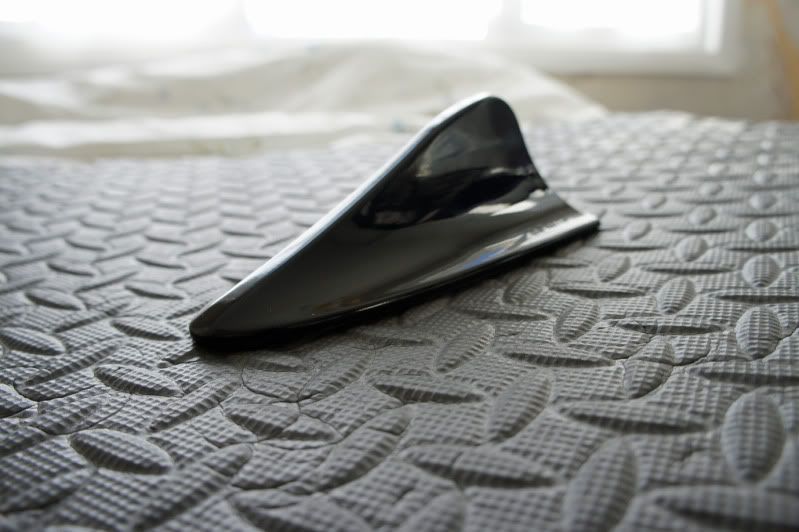
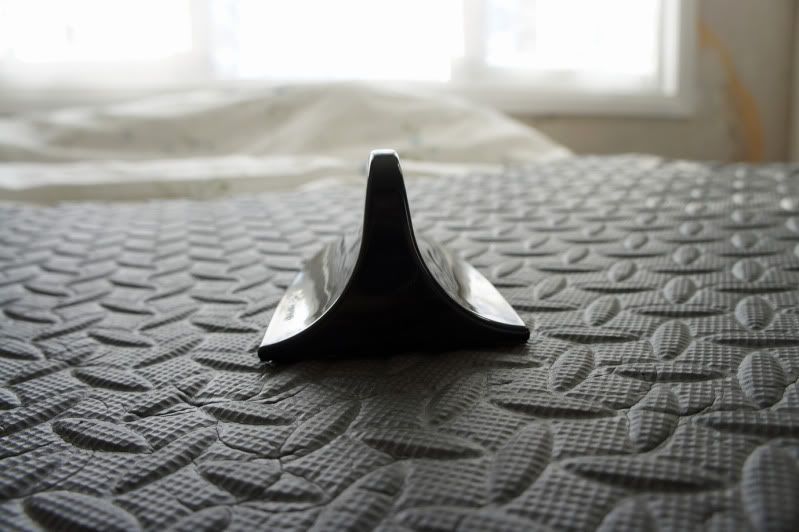
More pictures below of the aero blade.

Monday 28 November 2011

Oil Catch Can

So a couple of weeks back I ordered in an oil catch can. If you are not sure what it is, below is a short overview.

An oil catch can is used in high performance applications where excessive blow-by of air and fuel vapor occurs. This creates a positive pressure in the crankcase. Engine manufactures have placed a valve on the engine block which releases this pressure. This valve is known as a PCV (Positive Crankcase Ventilation) valve. During engine operation, blow-by gases, as well as oil mist from the rotating components of the engine, pass through the PCV valve and are routed back into the intake for the engine to burn off. However, some of the oil mist and other products settle along the engine intake and over time form a "gunk." The oil catch can collects the oil mist and condenses the fuel vapors while allowing "cleaner" gases to be passed back into the intake.

I wanted a baffled oil catch can as it works more effectively by giving the vapor droplets something to adhere to. Additionally I wanted a can with a slim form factor as I have limited room in the engine bay. The only can I could find on the market that met these two criterias (for a decent price) was from AEL in the States.

It arrived today and I am suitably impressed.


From the top of the can you can see the baffles in place.


View of the baffles from the top of the can

Since oil catch cans condense the vapor portion of the gasses, they will need to be drained periodically of all the oil, fuel and other contaminants. At the bottom of this can you have a tapped opening for the valve to drain away the oil.


Valve Open
The valve is one of the design decisions I like about this can. When draining, you only need to open the valve, not unscrew the bolt as with many other catch cans.


Valve Closed
The mini air filter is for providing an avenue for excessive pressure to be released, however I don't believe this is a necessity for my engine. Anyway, one last picture to go which is a mock up of the components put together.

Saturday 26 November 2011

British Heart Foundation Day - Snetterton

So today I headed up to Snetterton with Dave from the itr-dc5 forum for the British Heart Foundation Day.
The focus of the day was to raise money for charity by offering the general public passenger laps in either a race car, super car or classic car in exchange for a set donation.

Tom from TGM was going to be there with a customer and friend he races with to represent one of the many race cars giving passenger rides. I had wanted to sit in with Tom on track for a while so today was a perfect opportunity.

There were a large variety of cars on display and out on track however as usual, I didn't take many pictures :/


I caught Tom early on in the day and jumped in with him for one of the morning sessions. Drivers were only supposed to do 3 laps and then come in, however Tom stretched this out 'a bit' for me :)
As expected from being on the road with him previously, he is an outstanding driver. He was dancing the car around Corum and was perfectly balancing the car around the circuit.

The DC5 they had brought was Joe's car which had Nitron NTR Race coilovers (same as mine) and Brembo race calipers with 2 piece race discs. 

The car felt so stable around the circuit and turned on a dime around Montreal, testament to the coilovers and Tom's setup of course. What impressed me the most however were the brakes.

OMG! Tom was braking (as expected) very late and the brakes just stopped the car like it had hit a brick wall. I was seriously impressed that I am now considering asking Tom to send back my as of yet unfitted F50 calipers (the disks are the same).

No Body Roll!
Joe getting on it

Sunday 20 November 2011

TGM Mocal Oil Cooler

At present, I am not desperately in need of a race spec oil cooler given the oil temperatures I get on track (80 degrees C). I always keep my sessions (on open pit track days) relatively short; 15 mins max. However, for next season I want to run longer sessions and in addition, I'm contemplating upping the power the season after that. An oil cooler was therefore on the cards for some point in the future.

It so happened that Stoo from itr-dc5 had for sale a TGM designed Mocal oil cooler made specifically for the Teg (and EP3), so it made sense to grab a quality bit of kit at a good price which I picked up today.

In summary the kit contains:
  • Mocal 15 row oil cooler
  • Mocal thermostatic sandwich plate and adapter
  • Aeroquip hoses with blue fittings. 
Pictures below (taken by Stu).