Thursday, 24 February 2011

Modification Strategy Roadmap

It occurred to me that I had not described what my modding strategy was. Detailing it would of course provide a good basis for describing my forthcoming mods so here we go...

Let's face it, if we're talking about pure straight line speed the Teg is never going to compete with Evos, various Subaru's and large displacement engined cars. It's not what this car is about. The DC5 really is about the great handling, high revving engine and providing fantastic driving enjoyment (not forgetting looking pretty).

Don't get me wrong though, the Teg is a quick car in straight line. It's just from a purist point of view I believe you would get more enjoyment from improving cornering speed i.e. Handling and brakes first before any power mods. As such, my modication roadmap is as follows:
  1. Handling stage 1
  2. Brakes
  3. Power and Aerodynamics + Handling stage 2 and Track mods
  4. Handling tweeks
  5. Power
  6. Brakes
Phase 1 and 2 are of course complete, being the Eibach coilovers wtih FRSU and Dixcel slotted brake discs with carbon pads. Oh yes and of course the late discovered Toyo Trampio R1R tyres.

Phase 3 could of course be separated out further, but I wanted to hit it all in one go for project and cost reasons. Aero we have covered off in previous posts and power + track mods I will cover off at a later date. This leaves handling stage 2 (specifically mechanical grip) which I'll start talking about now.

For application on my car, I generally have four categories for improving handling:
  • Geometry
  • Tyres
  • Reducing unsprung mass
  • Increasing structural rigidity

Geometry
At this stage I will be applying the more aggressive geo settings that Umemoto San advised combined with input from TGM. And of course this is coupled with the race spec Nitrons which I talked about in a previous post.


Tyres
As covered off in a previous post, I'll be going for Yokohama ad08's. Tyre dynamics is vast and complex and I won't even pretend to understand all the principles. However I will give a quick, high level laymen explanation on the benefits of a good tyre choice and how this works. This is by all means not 100% accurate and doesn't take into account many many factors, but as a very simple guideline holds true.

Essentially, you are looking to increase grip by maximising the tyre surface area in contact with the road. The most obvious approach is of course slick tyres. However in real life applications these are banned and dangerous on roads as there are no treads to channel away water in wet weather; you would essentially aquaplane everywhere. A compromise has to be made which in essense are treads grooved into the tyre. How much tread you run and in what type of pattern is very much a detailed science as you want to minimise the amount of tread but optimise the water channeling capability. From reviews, the ad08's provide great grip with enough water dispersion (admittedly not the best but I'm mainly a dry weather driver).

Tyre compound is next on the agenda. The softer the rubber you run, the more grip you will achieve (to a point!) as rubber will deform easier and maintain a larger contact patch with the road. However, the softer the rubber the less durable it is. As with all tyres, the ad08's will require some heating up for maximum performance but from reviews will provide good durability whilst providing a soft enough compound. Interestingly Yokohama have developed a new compound for the ad08's which in a nutshell enables the tyre to be softer that the ad07's for increased grip whilst retaining durability levels. I won't go into the science of it but it's easily googable.

Tyre wall stiffness is also important. When cornering, more lateral force is applied to the sidewalls of the tyre. You ideally want a stiff sidewall to avoid tyre deformation which will improve predictability and turn in sharpness. For non-semi slicks, the ad08's have been reported as having very stiff sidewalls. Remember also that the more camber you run, the more it leans on the tyre shoulder and therefore puts more load on the sidewall ;)

Anyway, I shall leave it there for now and move on to some of the benefits of a good tyre:
  • Increased grip:
    • Faster cornering
    • Shorter stopping distances
  • Sharper steering response
  • Better turn in predictability
There are of course areas I haven't covered but I think the above is enough for now.


Reducing Unsprung Mass
Unsprung mass is a term used to describe the parts of a car that are not supported by the front and rear springs. This would include:
  • Wheels/tyres
  • Brake assemblies
  • Rear axle assemblies
  • Components of the suspension itself
  • Other structural members not supported by the springs
Reducing unsprung weight is the key to improving handling. The lower the unsprung weight, the less work the shocks and springs have to do to keep the tires in contact with the road over bumpy surfaces.
If unsprung components have a high mass they are harder to accelerate/decelerate and thus it is more difficult for the suspension to maintain a consistent tyre load.

The unsprung mass of my car will be reduced with the following parts I have covered in previous posts:
  • Wheels - Volk Racing CE28n
  • Function7 Lower Control Arms
  • Nitron Coilovers -Very very light but strong!

Increasing Structural Rigidity
Flexing of the car's structure can cause traction loss as well as changing steering geometry as the body flexes. Therefore increasing structural rigidity will reduce the amount of flex throughout the body.
The most effective way to increase the rigidity of the shell is to weld in a roll cage, additional spot welds etc etc. However as my car is not a dedicated race car this is not an option. Therefore my mods for increasing the structural rigidity will be as follows:
  • A more rigid front strut bar
  • Rear upper tower strut bar
  • Front fender braces
Front Strut Bar
Front tower strut bars are used heavily in conjuction with MacPherson strut suspension to provide extra stiffness between the strut towers. With a MacPherson strut suspension, the spring and shock absorber are combined in one suspension unit. The entire vertical suspension load is transmitted to the top of the vehicle's strut tower, unlike a double wishbone suspension where the spring and shock absorber may share the load separately. The towers are part of the body structure of the car. The bottom side of the strut towers bolt up to a ball joint and lower control arm, which is also bolted up to the body of the car. The bad side of this is that the body of the car acts as a chassis. Since the suspension is connected directly to the body, a certain amount of body flex is to be expected and thus the negatives of body flex as mentioned earlier can be experienced.

Think of the strut tower bar like taping up a cardboard box. The box is flexible before the top is closed and taped. Once the sides and top of the box get taped together, the box structure becomes rigid and strong. The strut tower brace boxes up the upper part of the MacPherson strut suspension, and forms a full circle of bracing to help prevent unwanted suspension flex. As the chassis is effectively tightened, the car should feel calmer and more controlled when cornering. This is best explained by the below diagrams from Ultra Racing.
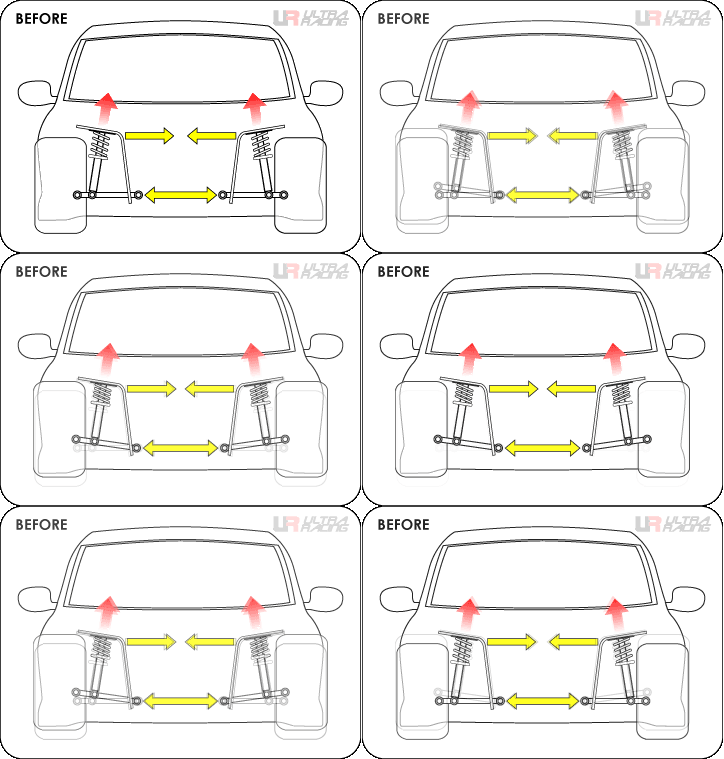
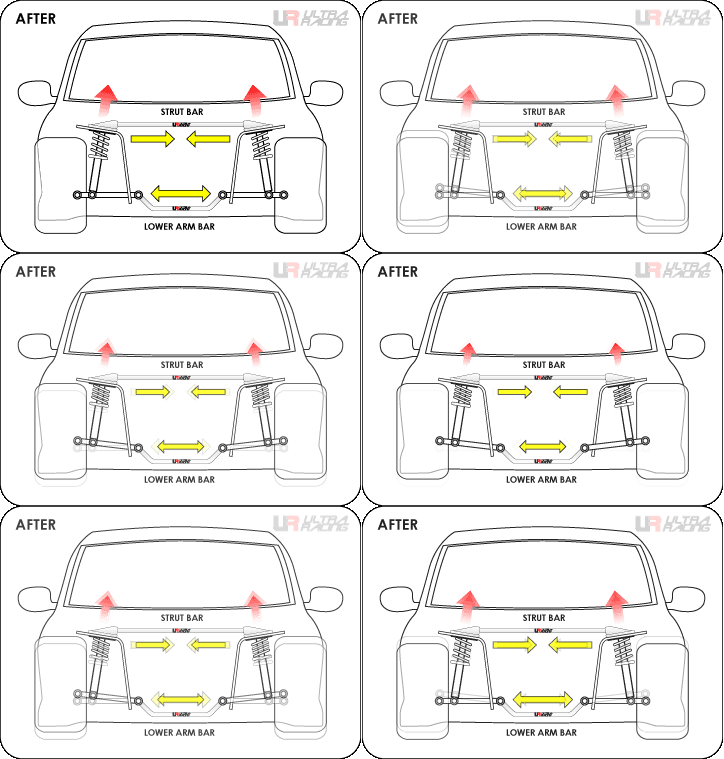
Now the DC5 comes with a front tower strut however as with all things it can be improved upon. As such, I have got the beefier P1 Racing front strut bar, developed by Buddy Club UK for their Time Attack cars as mentioned before.

Rear Upper Tower Strut Bar
The DC5 comes with a rear strut bar as standard. Of course this can be improved upon but I decided to take a different approach and support the rear strut as opposed to replacing it. This is done in the form of the Mugen rear upper tower strut (also covered in a previous post). This strut sits a distance above the rear strut bar and provides increased rigidity higher up, thus providing support to the stut tops below. Below is an itr-dc5 member's car with the Mugen rear upper strut and OEM replacement Spoon rear strut.
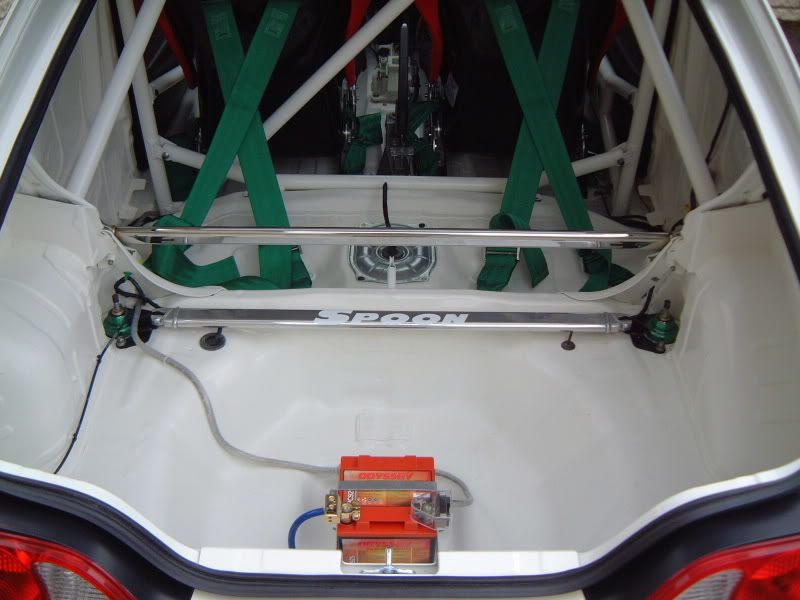
The OEM rear strut bar normally sits where you see the Spoon aftermarket bar here. The Mugen strut is the bar above it, in effect halfway up the passenger seat if it were still there


Front Fender Braces
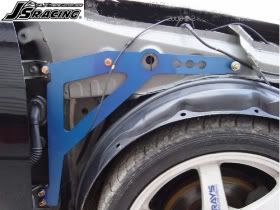
The joint between the A pillar and front chassis is subject to twisting by large impact and drag forces. A fender brace prevents the flexing of the front frame and achieves almost the same effectiveness as installing roll bars that go through the firewall. As a consequence, it considerably improves your front grip and cornering speed. In, summary it isolates surrounding body flex to enable your suspension to do what it's supposed to do!
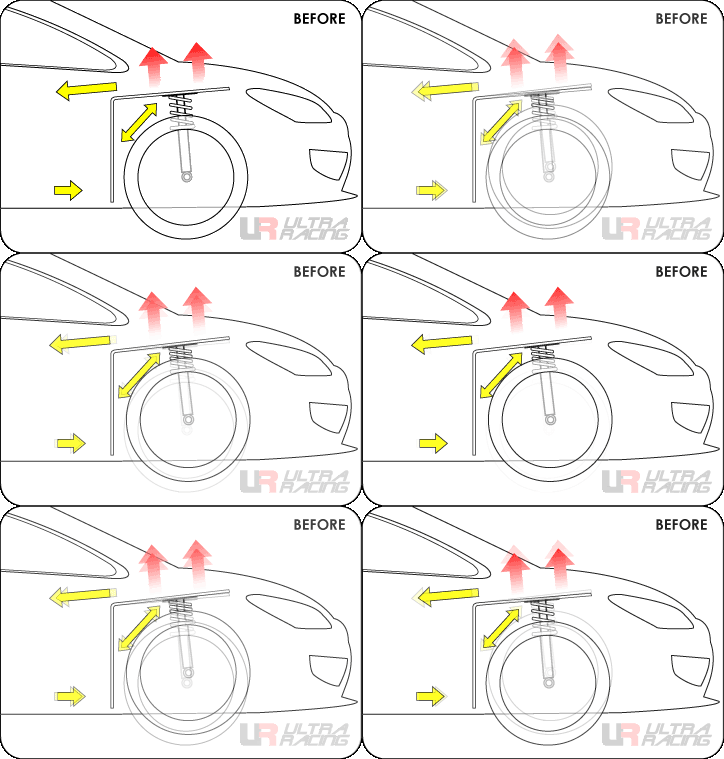
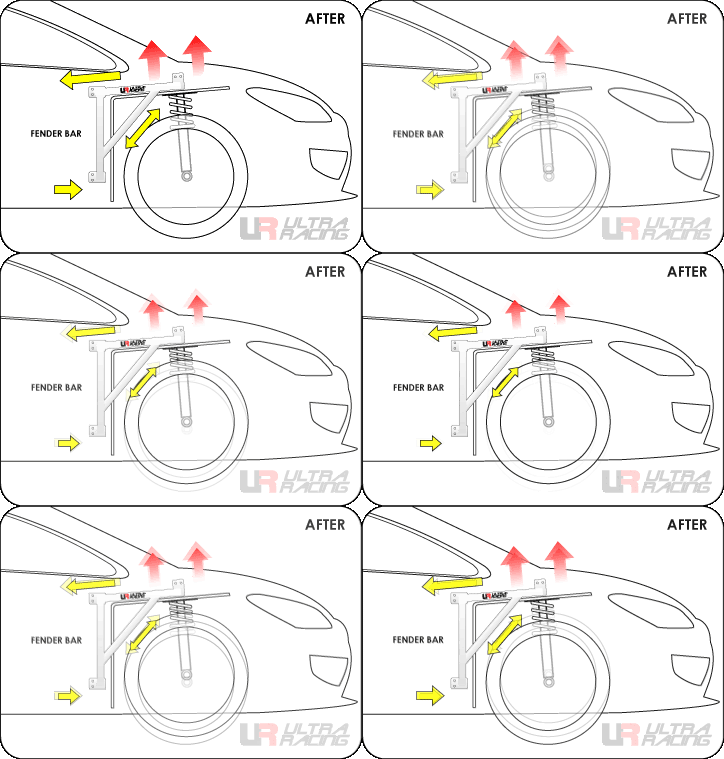
Recapping back, this is one mod Umemoto San highly recommended for a road car. It's worth noting that a lot of enthusiasts seem to pass over this mod!

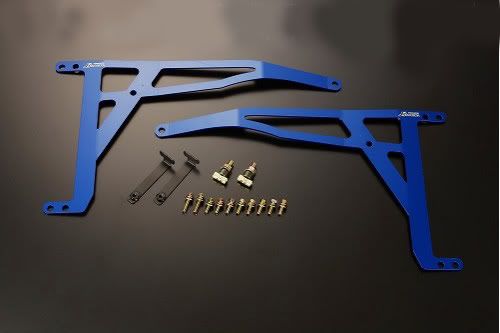
As I haven't posted up a pic of the J's fender braces before, here they are below to finish off this post:
Sunday, 6 February 2011

Update on trim pieces

You may recall (probably not) that I was not 100% happy with the door handle trim pieces I had ordered from Japan. There was nothing wrong with them, they had just used parts with the titanium trim option on top of the OEM part. The pieces therefore fitted perfectly but were not flush.

Anyway, I bit the bullet and ordered in some new ones making sure they did not have this extra add on. I fitted them today and my itch has finally been scratched :)

Before (top) and After (bottom)


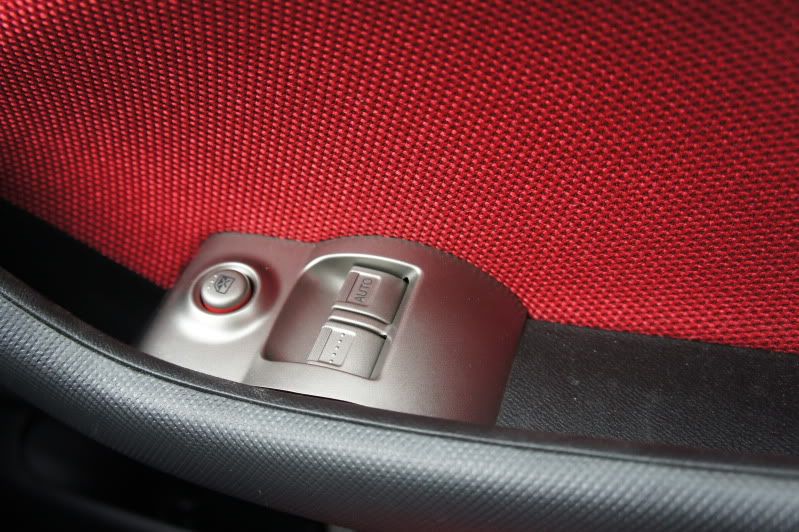
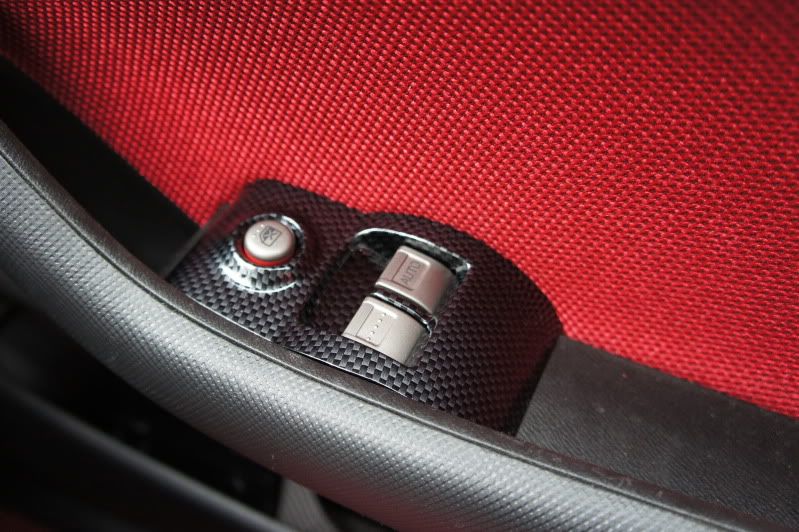
You can see better in the two pictures below what I mean about the first trim not sitting flush (top picture). I just need to clean my interior now. I haven't cleaned/treated the interior plastics in my entire ownership...


Tuesday, 25 January 2011

Interior Trim

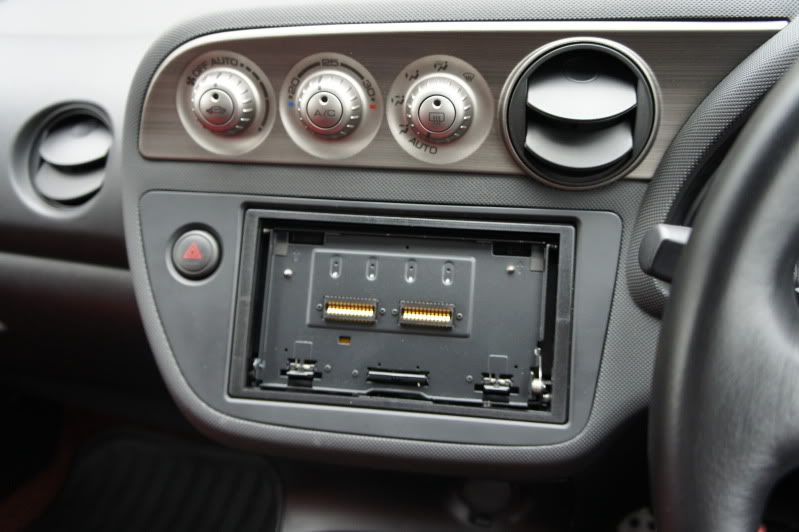
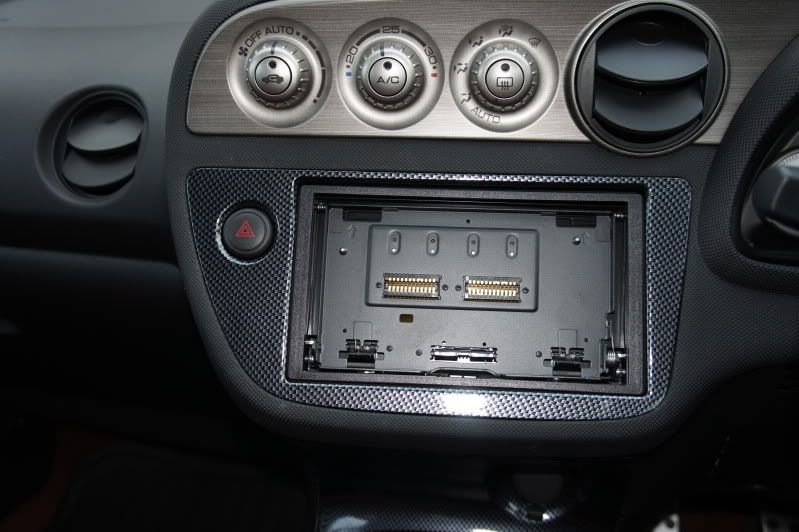
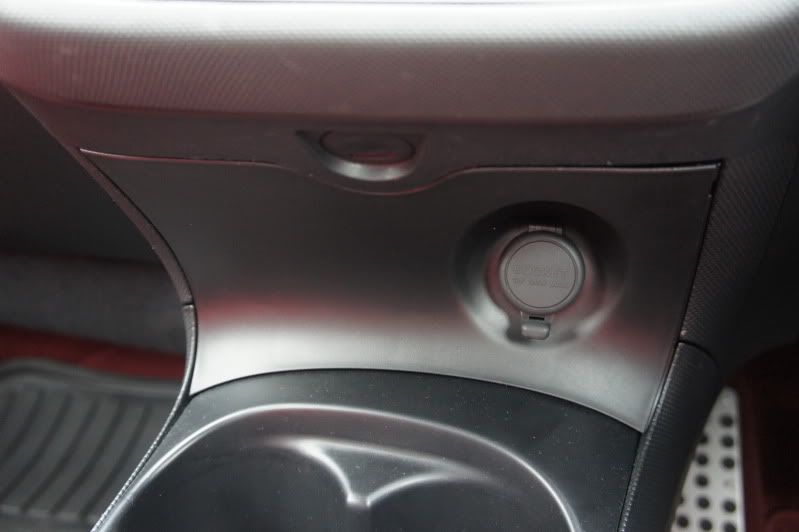
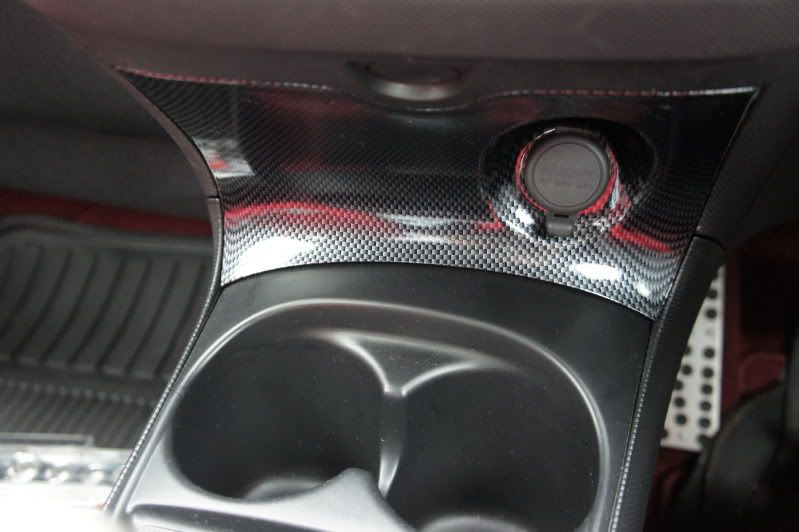
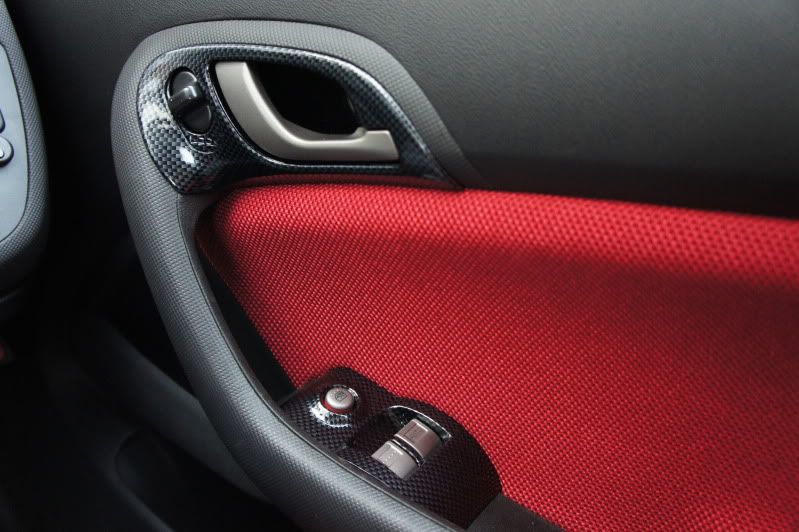
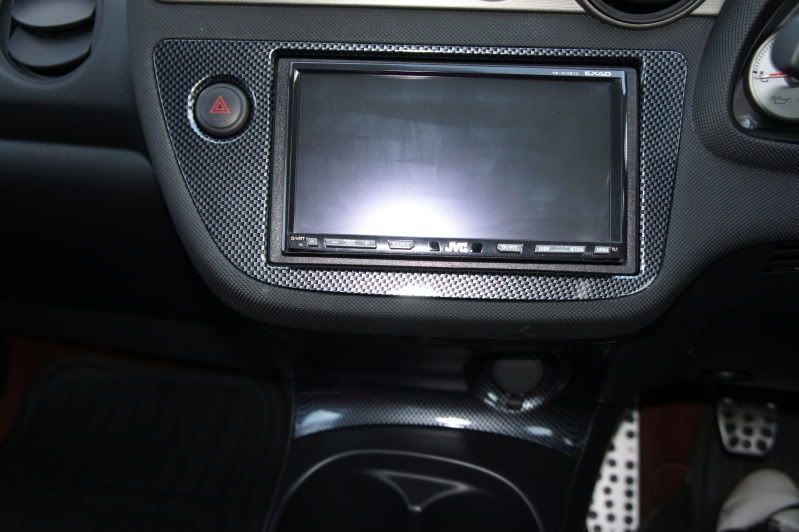
Quite a big trend nowadays is wrap interior plastics with carbon fibre effect vinyl. It does indeed look very good and is certainly a lot cheaper than getting the pieces of trim made in real carbon fibre. However, the best vinyl is only available in a 'dry' carbon fibre finish. For my own personal taste I prefer the glossy lacquered finish. Lacquering the vinyl does not really work apparently, so using vinyl to freshen or bling up the interior is not really an option. Therefore I ordered these in from Japan a few weeks ago - very pleased with the finish.


This weekend just gone I found some time to fit most of them - Before and After shots:


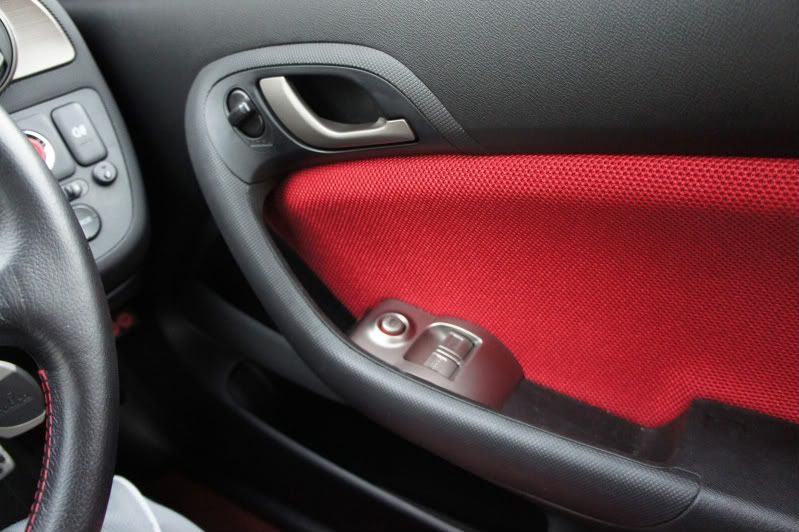
I'm not 100% happy with the handle trim as they applied the carbon texture on to a part which had a Honda option trim already on top of the OEM trim. Therefore it looks and fits perfectly fine but doesn't sit flush. You can see the small difference in the before and after shots (I'll be rectifying this in a few weeks). You may also notice that I swapped the carbon handle with the silver OEM handle (refer to very first picture) as in my opinion it balances out better.


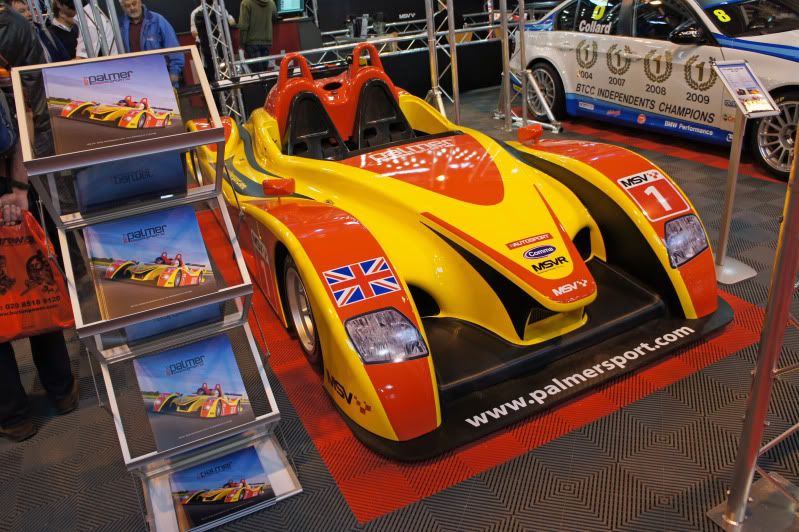
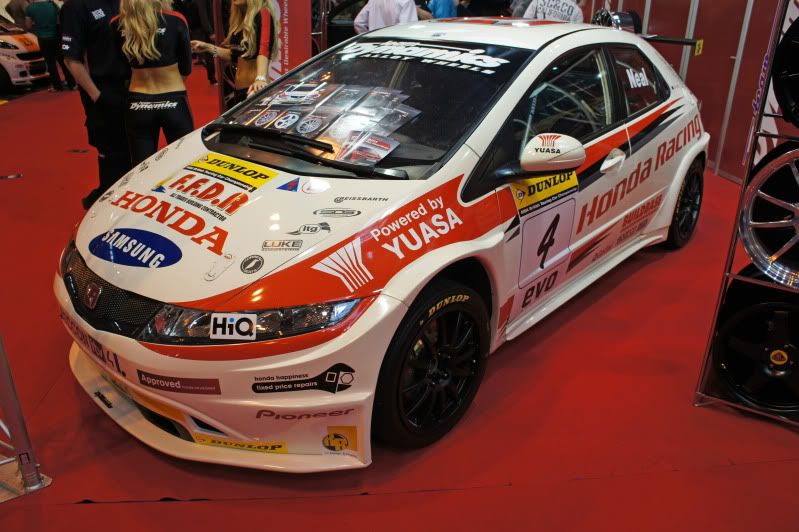
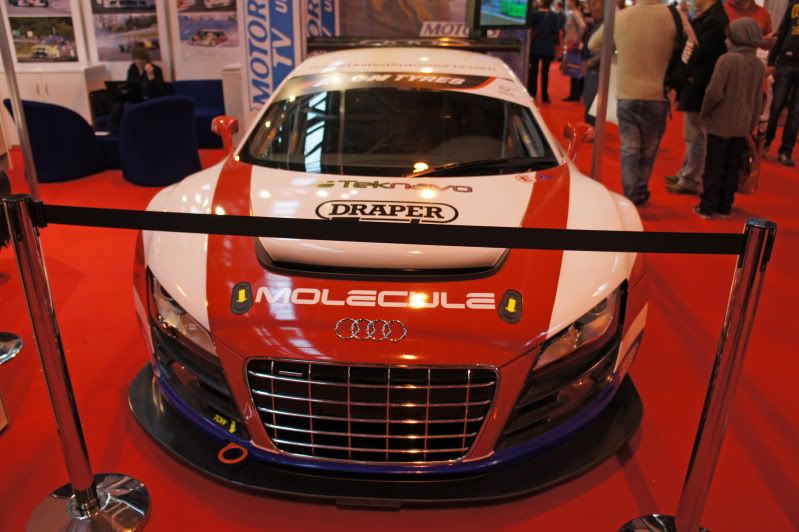
Autosport 2011

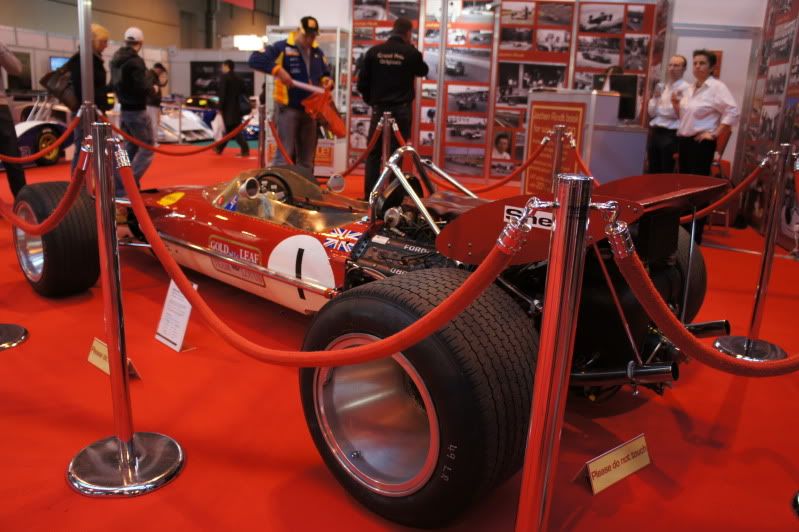
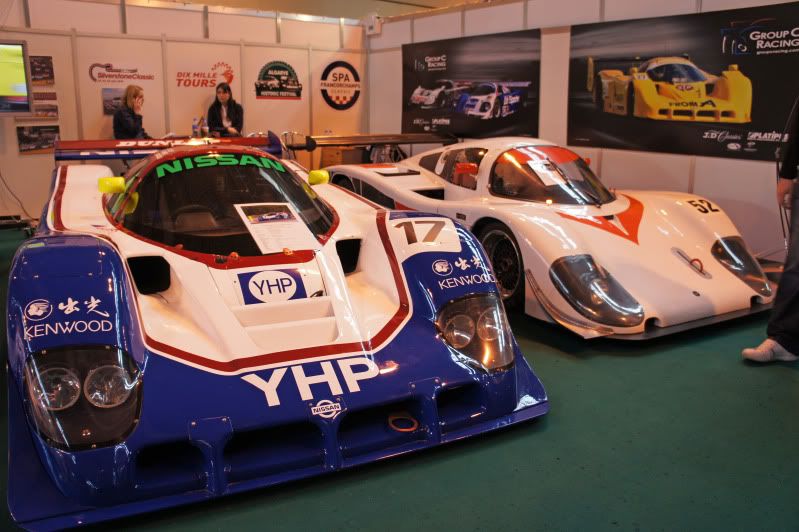
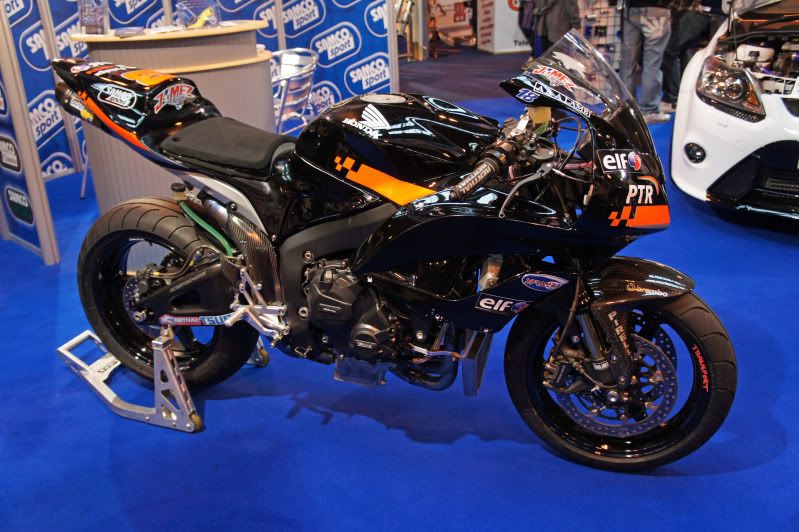
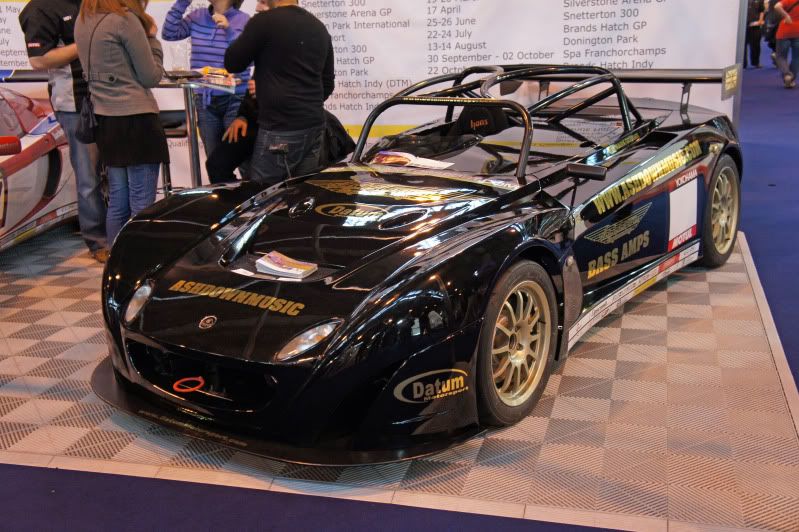
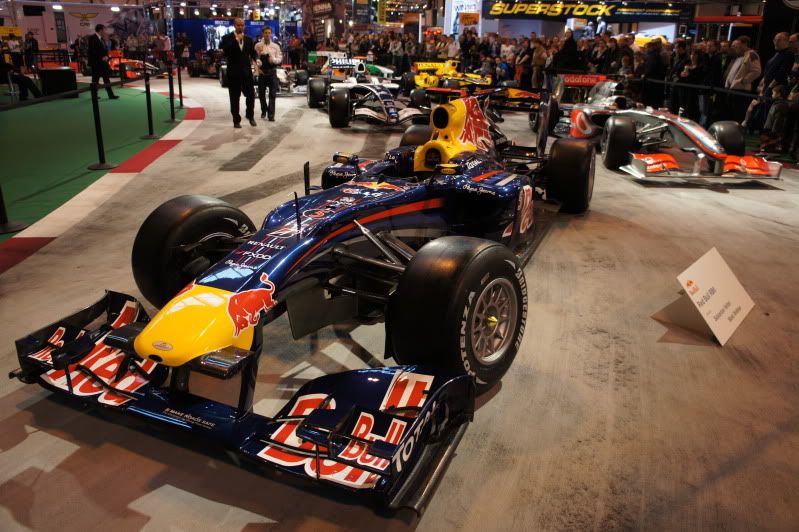
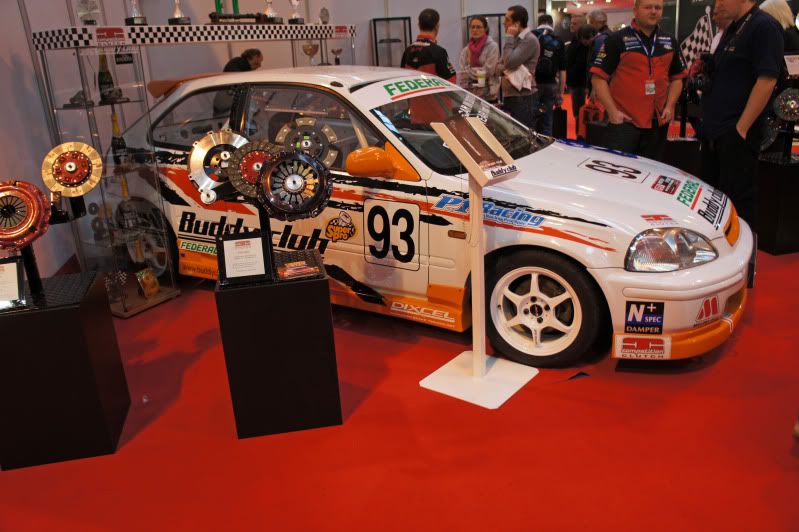
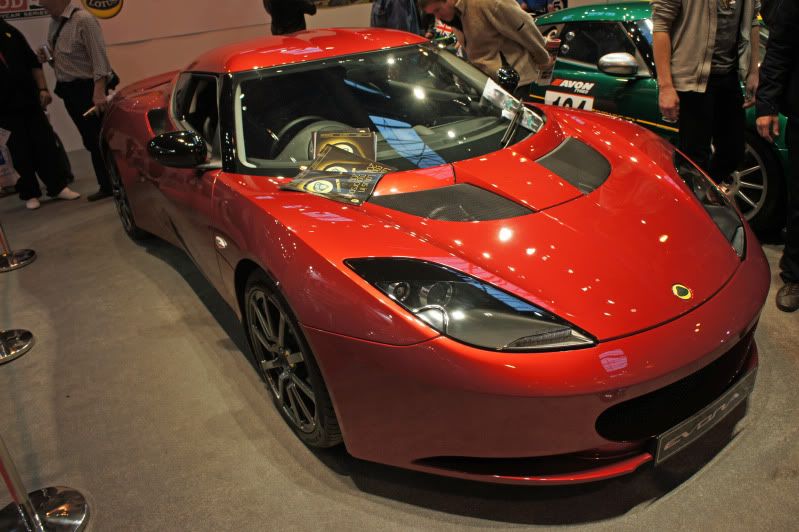
A couple of weekends ago I attended Autosport International 2011. A great show with lots on display. I won't bore you with words but will instead share with you some pictures.

Saturday, 22 January 2011

Silverstone - Stowe Circuit

So last Saturday, the long awaited HOT (Hondas On Track) day was finally upon me. We were on the Stowe circuit at Silverstone with Lotus On Track (LOT). Was a good day, a bit slippery because of the damp conditions and someone dropping oil on the pit straight but that added a different dimension of fun.

One thing that became more apparent on this short twisty circuit was the limitation of my suspension set up. The car was understeering and felt quite wallowy (two tight successive S bends really highlighted this). I just couldn't carry decent speed through the slow corners. I had not really noticed this at Brands at all as you would expect; Brands having mainly fast corners where the teg performs very well especially with the LSD. In saying all this, of course the driver is a big factor also :)
Nevertheless, what this does mean is I am relieved, re-assured and happy that I have ordered the Nitrons (plus I'll go with a more aggressive setup). Don't get me wrong, the Eibachs are a fantastic coilover. I still stand by my view that they are one of the best fast road, occasional track coilovers you can get. But that's the issue now. I want a track biased car in the handling stakes and to be frank, there's a reason why they are called Eibach Pro Street S coilovers. Anyway, enough chat. Some pictures below and a video of my last stint of the day.

Stowe Circuit layout


Thanks to the guys at HOT for the excellent pictures of my car on track. They aren't just talented in the driver's seat :)

Friday, 14 January 2011

Nitron

The decision has been made and finalised. My car will most definitely be a lot more track focused now. Why? Because I have just committed to a set of Nitron NTR Race Coilovers with Eibach Spring upgrade.

These are a serious set of coilovers that I have thought long and hard about for some time; even before I found out that J's Racing had commissioned Nitron to build a set of dampers for one of their S2K race cars. Getting these would make my car harsh on the road but awesome on track, primarily due to the high spring rates and matching valving. There is definitely compromise involved as you can't have a comfortable road car with race suspension, it goes against physics!

The NTR Race model is a 3-way adjustable damper, capable of adjusting rebound, and high and low speed bump. To put into perspective how performance orientated these are, typical aftermarket coilovers are only 1-way adjustable, only allowing you to adjust the Rebound, or rebound and bump together with one adjuster. Of the latter, you may be thinking how on Earth can you adjust two types of setting with a single adjuster when damping forces are not linear? Exactly! (will explain more on this below) However, in the real World it's not really an issue for the majority of applications. There is typically a large bias towards the rebound adjustment as it has the largest effect on damping out of the three.
Think of 2-way and 3-way dampers as the next level up in damper tuning, not 1-way as a bad application for adjusting damping, because they are not! I was just being facetious earlier, a lot of competition drivers/ some race teams use 1-way (for budget reasons though) :p

To give a greater understanding of how these 3 damping forces affect a car's handling, I'll give a quick overview of what rebound, high speed and low speed bump is (as explained by Nitron):

-------------------------------------------------------------------------------
When a damper is compressed this is known as the compression stroke or ‘bump’, when it is extended this is known as ‘rebound’. The amount of force that the damper generates during these movements is usually different in each direction and is often stated as a ratio, for example a 3 : 1 ratio means the rebound force is 3 times the bump force. However, things are never this simple. As the damper movement speeds up the force it generates increases, if the bump and rebound forces were totally linear it would be possible to plot an exact bump to rebound ratio. Generally, damping forces do not increase at a constant rate with an increase with speed, and so the bump to rebound ratio varies for different shaft speeds. 3 : 1 maybe the ratio at medium speeds, but at lower speeds this could be 1 : 1 for example.

Low shaft speeds can really be thought of as the chassis moving around, i.e. diving, rolling and squatting, and combinations of these. As a car is driven through a corner, the chassis will take a variety of different attitudes as it goes from straight to straight. These are all low speed shaft movements as far as the shocks are concerned.

High shaft speeds are where the wheels encounter something that rapidly disturbs their steady state, and the chassis will hopefully remain stable, i.e. a bump.

-------------------------------------------------------------------------------

Typically, dampers are either monotube or twintube. Nitron dampers utilise a monotube design .

I won't go into the details of why monotube is better as I am far from being a suspension technician; Google both, there is lots of literature out there. I will however list out the advantages over twintube:
  • Lighter
  • Greater heat dissipation
  • Greater sensitivity to small shaft movements
  • More consistent damping and greater resistance to fade during long periods of use
  • Can be inverted to reduce unsprung mass
Additionally, the Race versions have remote canisters that are hose mounted to the main shock.

All dampers require something to compress internally to allow the rod to enter the body, in the case of a gas monotube this is achieved using a floating piston and a compressible volume of nitrogen.

A damper with a remote reservoir on a hose onto the side of the shock allows the length of the main shock absorber to be reduced by moving the floating piston assembly to the side, and a much larger volume of nitrogen may be used which has a more consistent pressure during the rod stroke.

As the piston rod is pushed into the top of the body tube, an identical volume of oil is displaced into the remote reservoir. Placing valves in the head of the remote reservoir canister allows the damping rate to be varied in compression as oil is passed through it during the compression stroke. An additional benefit is the ability to cool the nitrogen by mounting the reservoir where there is cooling airflow and away from sources of heat, this will keep the nitrogen at a more constant pressure and help with consistent damping.


Anyway, the order has been placed, and they should be built within a few weeks. I will have a long and steep learning curve to understand and apply in a practical sense the optimum settings for different tracks, but then that's half the fun ^_^

They look practically the same as these in the pictures below. (They belong to a couple of race EP3's. One of which I'll be on track with tomorrow at Silverstone)